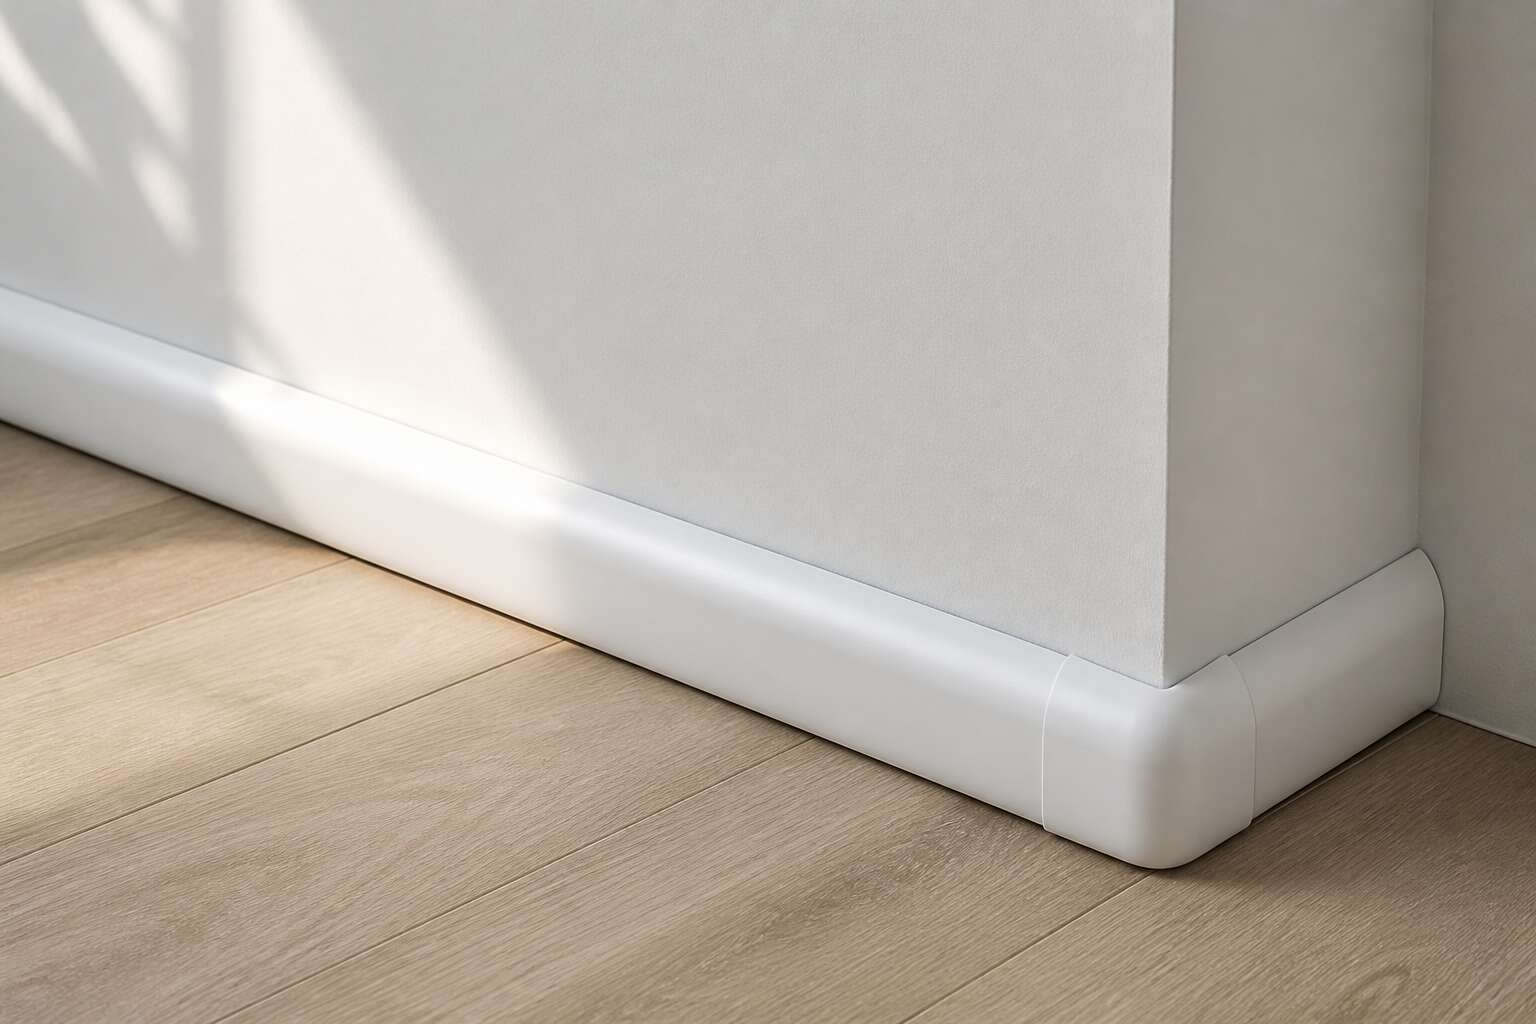
Behind the Curved Cable Duct Design
Typical Applications Around the Home and Office
The curved profile of half moon trunking is not arbitrary. Its arched face deflects impact and directs cables into a low profile channel, making it a quiet workhorse in homes and offices. In living rooms, it hides speaker wire along skirting boards. In open plan offices, it manages desk power and data leads where walls meet floors.
Typical installations include:
– Running TV and network cables behind entertainment units
– Securing lighting control wires along passageways
– Housing fibre and UPS cables in small server rooms
Each placement takes advantage of the rounded surface to reduce dust buildup and simplify access. The design also allows for a neat bend around door frames. For any space that needs clean cable routing without intrusive chases, half moon trunking offers a restrained, practical solution.
Reading the Dimensions and Capacity Ratings
The number 16 in a 25 by 16 millimetre rating is not a height. It is a thermal allowance. The curved profile of half moon trunking creates an air space above the cables, and that space is calculated, not incidental. Width determines how many leads sit side by side. Depth determines how much heat they can shed. I always read the second number first.
Fill ratios in the technical documentation reflect this. A channel rated at 60 percent fill still leaves the upper arc void unobstructed. Dense copper runs generate warmth, and the void allows that warmth to travel along the duct and escape at the ends.
- 25 by 16 millimetre: two 1.5 square millimetre conductors
- 40 by 25 millimetre: four power leads with a data cable
- 50 by 25 millimetre: bundled fibre and UPS cabling
Material Choices and Their Impact on Durability
The curved profile aside, the material under your fingers determines how long that half moon trunking survives the realities of a South African ceiling or garage wall. I once watched a cheap channel turn to chalk after a single summer in a Pretoria loft. Most ducts are extruded from PVC, which sounds mundane until you understand that the grade of plastic changes everything. Cheap blends become brittle after a few Highveld summers. They crack at the corners where the radius bends, and then the whole elegant concept of the void collapses into a broken gutter.
Two properties matter more than brand names:
- UV stabilisers, because direct sunlight attacks unprotected polymer chains.
- Impact modifiers for the inevitable ladder or dropped toolbox incident.
The best PVC compounds hold their shape at temperatures that would warp a lesser product. Fire retardant ratings also count. The South African market has no shortage of imported alternatives, but the ones that pass SABS testing tend to use heavier wall sections. That extra weight costs more, but it buys you a decade of not climbing back into the roof to replace half moon trunking that promised more than it delivered.
Colour Options and Matching Interior Finishes
In a country where afternoon light throws harsh shadows across every wall, the colour of half moon trunking decides whether the eye rests or rebels. I once walked into a Durban flat where the builder had matched the duct to the ceiling paint so perfectly that I could not find it for a full minute.
The options are not endless, but they are deliberate. Matte charcoal for industrial interiors, bronze for timber panelling, and a pale ivory that borrows warmth from a plastered wall. The curved profile means light hits the surface at an angle, so gloss finishes expose every ripple in the plastic. A low sheen hides those sins.
- Matte black for gallery walls
- Graphite for stone surfaces
- White for standard ceilings
Test a sample against the actual wall before you commit. The same half moon trunking that looks elegant in a hardware store can turn sour under a Highveld sun.
Preparing the Surface and Layout
Gathering the Essential Fittings and Adhesives
A clean substrate is the essential starting point for any cable management job. Half moon trunking will only stay put if the wall offers a dust free, dry surface. Scrape off loose paint, wipe away grime, and wait for damp plaster to cure fully. Skipping this step invites adhesive failure later.
Next, lay out the entire run. Use a spirit level to mark the route, then collect the necessary fittings. For a typical installation you will need:
- Joiner clips to bridge sections
- End caps for neat terminations
- Internal and external corner pieces
For fixing, choose a solvent based adhesive for brick or concrete, double sided tape for smooth tiles, and screws for timber. Match the fix to the surface, and the trunking becomes a permanent fixture.
Measuring, Marking, and Dry Fitting
A crooked installation begins with a careless pencil line. Good trunking work starts on the wall, not in the pack. Spend ten minutes walking the route with a spirit level and a plumb bob!
Scrape any loose paint, dust the surface, and let damp plaster cure. Dry fitting reveals alignment problems before adhesive sets. Lay the sections along the marked path and inspect each joint.
- Check internal corners with a set square
- Test external corners with an offcut
- Number each piece for final fixing
Correct preparation makes half moon trunking sit flush for decades.
Planning Around Power Sockets and Data Points
A surface that feels smooth can still betray half moon trunking. In South African homes, chalky paint and coastal damp are common culprits. I wipe the wall, scrape loose flakes, and let fresh plaster cure before any adhesive touches it. Dust left behind weakens the bond and shifts alignment later.
Power sockets and data points demand early layout planning. I map each outlet, note cable routes, and keep trunking clear of switch plates. South African plugs and RJ45 points sit at different depths, so the run must respect both.
- Socket positions marked before fixing
- Clearance kept around data points
- Wall texture checked along the full route
Cutting Clean Edges Without Crushing the Profile
Half moon trunking hides wires, but it cannot hide a poor cut. Before a single metre is laid out, I run a tack cloth along the interior channel. Dust left inside creates a slippery layer that lets the profile slide under adhesive. On South African coastal walls, chalky plaster demands a dilute PVA primer to create a stable base.
When marking the run, I score the surface with a sharp utility knife, then snap the material cleanly. A mitre box keeps corner cuts true, but I rotate the saw slowly to avoid crushing the curved profile. A flattened lip invites gaps that collect moisture. For internal corners, I cut a 45 degree angle and file the inner radius to a smooth edge.
- Score deeply on the first pass to minimise burrs
- Support both sides of the cut to prevent flexing
- Deburr only the cut face, never the visible front curve
Every cut leaves a burr that catches cable jackets. I sand the cut edge with a fine abrasive pad and check the fit against the wall before any adhesive touches it. A clean edge protects insulation for years, and a properly prepared surface ensures the half moon trunking sits flush for its entire service life.
Working With Corners, End Caps, and T-Junctions
The wall surface in many South African homes carries years of paint layers, and each one affects adhesion. I wipe the area with a damp cloth, then lightly sand any glossy finish. For corners and T-junctions, the planning happens before the first cut. I fit end caps loose and mark the exact position where the half moon trunking meets them. This avoids gaps that appear when walls are slightly out of square.
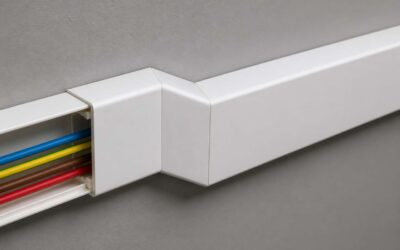
For internal corners, I use a mitre box and cut both pieces at 45 degrees. External corners require a different approach: one piece overlaps the other. T-junctions need a clean notch cut into the main run. The half moon trunking then slides over the cable without pinching it.
- Check each corner for squareness before cutting
- Test fit all pieces before applying adhesive
- File any rough edges on the mitre cuts
Step-by-Step Fitting Without the Fuss
Applying Adhesive and Pressing the Base in Place
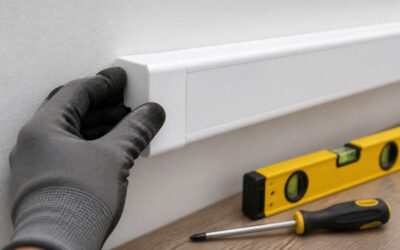
There is a psychological weight in that first press of the base against the wall. The adhesive bonds instantly, and half moon trunking transforms from a loose profile into a permanent fixture. Too much force creates a mess; too little leaves gaps. You need a deliberate, even pressure along the entire length, starting from the centre and working outward.
Apply the adhesive in a continuous serpentine bead, not too thick. Then press the base for at least twenty seconds. This is not a moment for hesitation. The wall’s texture, the room’s temperature, even your own grip, all influence the final hold.
Laying Cables Carefully to Prevent Pinching
With the base secured, the next task is feeding the cables into their designated channels. Pinching happens when you rush this step. Fold the cables gently rather than forcing them, and leave a little slack at each end for thermal expansion and future adjustments.
Where multiple cables share the same run, arrange them side by side rather than stacking them. This helps the cover snap on properly, and the order matters more than you think.
- Tuck the deepest cable first.
- Press each cable down into its cradle along the entire run.
- Run your thumb along the top to check for high spots before fitting the cover.
Half moon trunking only performs well when the internal work is tidy. A cable that sits proud of the channel will make the cover bow, and that gap defeats the purpose entirely, so take the extra minute to set things right.
Snapping the Cover On Securely
With the cables settled, the cover becomes the final step. Align the lip of the half moon trunking with the base groove, then press steadily along the length. Do not snap it down in one motion. Work from one end to the other, feeling for any resistance.
- Start at the corner nearest the power source.
- Guide the cover into the channel at a slight angle.
- Press with the heel of your hand along the seam.
A secure fit means the cover sits flush with the wall. If you hear a hollow rattle, the base has shifted, so lift and reset. The half moon trunking should read as a single solid line once closed. This is where careful preparation shows.
Hiding Joints for a Seamless Look
Once the cover sits flush, joint handling decides whether half moon trunking reads as one line or as a sequence of breaks. I look for shadow gaps at transitions and slight steps where lengths meet. A neat run has no visible shadow along the seam; the eye travels without interruption. South African afternoon light reveals small misalignments. Close fitting depends on the earlier cut and the seating of each length.
The seamless look comes from restraint. A joint that needs force will sit proud later. When the profile meets cleanly, the run disappears into the wall surface. That effect is quiet and precise, and it holds up close inspection!
Long-Term Care and Trouble-Shooting
Accessing Cables for Home Office Reconfigurations
One of the less glamorous, yet vital, aspects of any cable management system is how it copes with the inevitable reconfigurations of a work from home setup. Full concealment means little if you cannot retrieve a faulty cable without destroying the installation. The genius of sizing a half moon trunking correctly is that it allows for this future proofing. You are not just hiding current wiring; you are building a service void that anticipates upgrades. A 40x25mm profile is often the minimum for a home office, as it accepts multiple CAT6 runs and a power cable without compression.
When the time comes to move a monitor or add a new NAS drive, the access process demands patience rather than force. In my own experience, prying up a cover from the centre, rather than the ends, prevents hairline fractures. You should keep a proper trunking key nearby; it is a worthy investment for long-term maintenance.
Typical troubleshooting access involves these scenarios:
– Adding a new fibre connection to a different corner of the room.
– Swapping a failing HDMI cable that has been routed near a heat source.
– Installing a smart home hub that requires a clean power source.
The joy of a well-designed product is that the cover removes easily, leaving the base plate firmly anchored to the wall. This stability is crucial. You can then lift the cables out, reconfigure the path, and simply snap the cover back on, ensuring the friction fit remains tight for the next decade. In South Africa, where load shedding often necessitates temporary inverter wiring, the ability to modify a line quickly via half moon trunking proves indispensable for maintaining a secure environment.
Lifting and Refitting Sections That Keep Popping Open
A half moon trunking cover that pops open months after installation rarely signals a manufacturing fault. It usually points to environmental stress or an imperfect fit at the cutting stage. Heat causes PVC to creep, and in South African roof spaces or sun-facing walls, that creep loosens the friction grip.
I inspect the base plate first when a section refuses to sit flat. A proud screw head holds the cover off its channel. Dust accumulation forms a slick barrier that reduces grip. Retention fingers fatigue after repeated removals, so an old half moon trunking system may need a new cover section.
Common culprits for recurring pops:
- Overtightened screws that distort the base channel.
- Mismatched cover and base profiles.
- Cables routed too tightly around a corner.
A persistent joint gap traces to a burr left by a blunt blade. Fine sandpaper restores the profile. The audible click means the cover is seating correctly; a dull click signals weak engagement.
Cleaning Techniques That Keep the Duct Pristine
Dust in a South African home settles into the narrow lip where the cover meets the base. That film hardens over time, especially in coastal areas where humidity mixes with airborne salt. A dry cloth alone won’t shift it. I use a soft nylon brush to sweep the channel before wiping with a slightly damp microfiber cloth. Solvents and abrasive pads damage half moon trunking, dulling the surface and leaving scratches that collect more grime.
For sticky residue left by tape or labels, warm water with a drop of dish soap works without harming the profile.
- Wipe along the full length to avoid streaking.
- Check the base channel for debris before snapping the cover back on.
- Apply a thin layer of silicone polish twice a year.
Cleaning the duct also means checking it. Run a finger along the edges for rough spots or lifting sections. A pristine half moon trunking install stays that way with simple, consistent care.
Painting Over the Duct and Touch-Up Strategies
Half moon trunking might look maintenance free, but the surface still takes a beating. Sunlight, especially on the Highveld, yellows the PVC over time, and a knock from a trolley or ladder leaves a dent that catches the eye. Painting over the duct solves both problems, if you do the prep correctly. I have found that a light sand with 220 grit paper gives the paint something to grip, and a plastic primer stops the topcoat from peeling within a season.
Touch-ups demand a steady hand and the right product. A small artist brush works better than a roller for nicks along the edge, and water based enamel matches the original sheen without turning chalky. The trick is to feather the paint beyond the damaged spot, so the repair blends into the surrounding surface.
– Check the weather forecast before painting. Rain and high humidity ruin the cure.
– Sand the damaged area, not the whole channel.
– Apply two thin coats instead of one thick layer.
The base channel needs equal attention. Paint can pool in that narrow lip, and a thick layer stops the cover from clicking back into place. If you must repaint the base, wipe it clean and let it dry completely before snapping anything shut. I stick to a satin finish, since gloss highlights every imperfection and matte collects dust in the grooves. A repaired half moon trunking setup should look uniform, not patchwork, so match the paint to the original colour by testing a small area first. That extra step saves you from a visible line that ruins the whole run.
Removing the Duct When Decorating
When redecorating, the half moon trunking often stays fixed while wallpaper or paint goes around it. That leaves a clean outline, but creates trouble later if you strip the wallcovering. Removing the duct takes patience. The adhesive holds firm after years of heat and humidity, so pulling hard bends the base channel.
Work a putty knife behind the base and slide along the length to break the bond. Do not twist the knife, as it gouges the plaster. Once free, scrape off old adhesive pads and leftover foam. The cover clips off first, but the base needs the careful treatment.
- Label each section with masking tape before removal.
- Store screws and fittings in a small container.
- Keep cover and base pairs together to avoid mismatched lengths.
Long-term care means checking the fixings every few years. A base that rattles indicates the adhesive dried out, and reattaching it before the cables sag prevents damage. The half moon trunking outlasts the décor if handled gently during renovations.

0 Comments