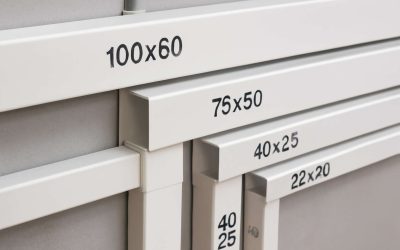
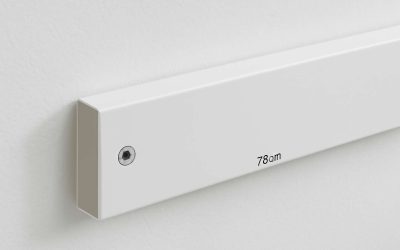
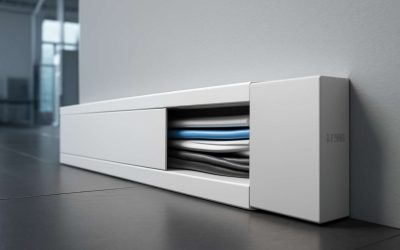
Metal cable trunking offers strong stability for electrical wiring runs, with a choice of thicknesses for different applications. It comes in many different types – plastic trunking (usually PVC or UPVC) is popular for a cheap conduit option that’s easily trimmed to size, as is aluminium conduit which offers similar electrical wiring protection and routing convenience to PVC or UPVC but at a slightly higher price. For larger power and data cable runs, steel trunking is a more heavy-duty option that’s available in a range of widths and depths for accommodating various cable sizes.
Choosing a suitable trunking size is important, as putting too much cabling into any type of electrical conduit can cause them to overheat when the power’s switched on and damage their insulation, potentially leading to a fire risk. Generally, the maximum number of cables that can be installed in a length of trunking is 45% of its overall volume. This limit accounts for the overall CSA of all the cables in the run and is determined by taking into account the thickness of their individual insulations.
If the cable trunking is to be used in a ceiling installation, for example, then it can be suspended from ceiling joists or fastened directly to them using suspension brackets. Alternatively, it can be used as part of a floor or wall installation, either embedded in the concrete, set into a concrete block or brickwork, or buried beneath plaster or render.
In addition to the basic electrical trunking itself, there are a variety of accessories that can be added to it to provide extra functionality and safety. For example, end caps and lids can be fitted to prevent cables from falling out or presenting a tripping or snagging hazard. Cable retainers are also available to help keep multiple cables in place, and a choice of turnbuckles can be used to adjust the height at which the trunking is fixed.
When forming angled bends in steel trunking, it is recommended that a ratchet or portable bending machine be used rather than manually bending by hand to avoid damaging the metal or creating an untight fit. Typically, the first step is to mark the position of the required angle on the conduit by holding a try-square against the mark. Then, with the grooved roller inserted into the former and the handle pulled down, the conduit is bent to its required angle.
In addition to forming double 90° bends in trunking, it is possible to create right angle offsets and other types of bend by following the same process. For example, a 30° offset can be formed by positioning the conduit in the former so that the edge of the mark is against the stop and then pushing down on the handle with a ratchet or bending machine. A template can be used to check that the resulting offset is correct. A similar process can be followed when forming other kinds of angled bends in metal conduit.


0 Comments